I have not ever found a vintage Christmas tablecloth that I didn't want to take home with me.
The fabric! The graphics! The colors!
Though the tops may be covered with faded stains,
the good stuff remains along the sides.
Waiting for me to frame in a pillow
or embellish towels for my kitchen.
Fifteen minutes from start to finish.
Wanna know how I make them?
First, just like when you're cooking, you gather your ingredients.
You will need:
-An image, cut from a vintage tablecloth.
-Coordinating rick rack
-Iron-on adhesive (double sided, like HeatnBond)
-Wonder tape (1/8" wide)
-a kitchen towel
You will also need your iron and a sewing machine.
First, I decided on an image.
Should I pick the candy cane?
Or perhaps a wreath, tree or band of merry musicians?
The musicians and the wreath were too big for my towel. The tree is too similar to the one I used on a towel I made last week.
I'm going with the candy cane.
I cut the image of the candy cane from the tablecloth. I decided to go with a simple rectangular shape. No crazy angles or curves.
I did a quick mock-up, placing the image where I thought it should go, and deciding which trims I would use.
If the tablecloth has a coordinating border, I usually cut a strip of the border for the bottom of the towel.
I did not like the border on this tablecloth, so I decided to trim the bottom of the towel with rick rack.
And I took the rick rack away, just to see what the towel would look like without it.
I decided I liked the way the rick rack looked.
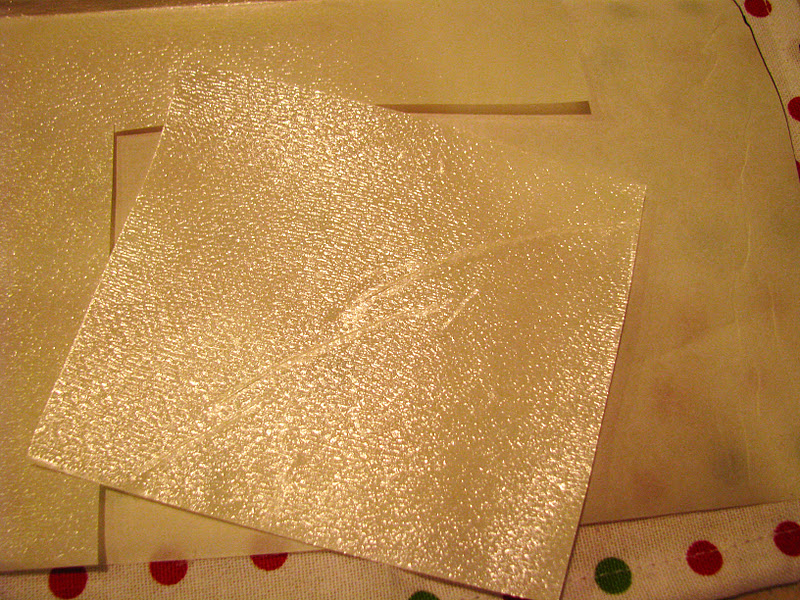
Cut a piece of the iron-on adhesive to iron onto the back of the image. It does not have to be a perfect shape, you just want to use it to hold the image in place.
See? Not perfect.
Iron it on, paper side up on wrong side of image.
Peel the paper off, and now the adhesive will be on the fabric.
Do the same with the Wonder tape, adhere it right down the center of your rick rack.
Carefully peel the paper off, and the adhesive has transferred onto the rick rack.
I like to use iron-on adhesive to hold my images and embellishments in place before I sew them. No pins involved.
Arrange your rick rack and image on your towel.
Iron it into place. The adhesive bonds almost immediately. Just quickly glide the iron over the image and rick rack without stopping.
Once the transferring is done, you are ready to sew your image and trims into place.
First, just do a quick straight stitch around the border of the image.
After the towel has been washed, you'll get some really cool texture going on with the stitching around the border of the image.
Then, straight stitch right down the middle of the rick rack. You could do a zig-zag stitch instead, but I don't want to scare you. A straight stitch will also get the job done.
And stitch right down the center of the rick rack that borders the image.
And you're done!
No lie, it took me 17 minutes to embellish this towel, and that included the time it took me to take the pictures.
Including this picture of Gus. I didn't want him to feel left out.