
I thought I would continue with my series of posts about favorite kitchen tools.
I've narrowed it down to two, but I'm having trouble deciding which one gets top billing.
So I've made an executive decision to keep both tools as number two on my favorites list. I even came up with a recipe that uses both!
So, here are the favorite tools, in no specific order:

My citrus press.
No brand name, adorned only with a "Made in Taiwan" sticker, I purchased this almost twenty years ago from the now-defunct "Kitchen, Etc." store.
Before I had this juicer, I used either a hand-held reamer or a counter-top reamer or an electric juicer where you held the fruit on the reamer as it spun around.
All of them made my hands icky-sticky.
And with all of them, the juice had to be run through a strainer, to remove the seeds.
Sometimes I would just halve the lemons and manually squeeze the juice out. Which only served to remind me how weak the muscles in my hands are.
And then I got this baby. You just halve your lemon/lime/orange, place it on the little round metal reamer, bring the lever down and the big dome comes down and squishes the juice out of your fruit. The juice drains out the bottom without the seeds, which are too big to get through the little holes that the juice drains through.
I am always banishing the items on my kitchen counter to the dungeon (a.k.a. my basement) because I have no use for dust-collectors. This item, I'm happy to say, remains on my counter 24/7. Not only do I use it several times a week when cooking meals, it's very busy in the summertime making fresh-squeezed lemonade.
Next:

My julienne peeler. It looks like a regular vegetable peeler, but as you can see in this close-up, there are tiny little teeth in the blade
Use it like a vegetable peeler, but instead of thick peels you get fine little julienne strips.
The following recipe calls for both tools. If you don't have these tools, don't sweat it! Use whatever method you would normally use for juicing the limes that this recipe calls for (or use purchased lime juice), and grate your carrots instead.
BLT/Grilled Chicken Salad
Marinade:
- juice of two limes (about 1/4 cup)
- 2 tablespoons grilling seasoning mix (I use McCormick's Montreal Steak Seasoning)
- 3 tablespoons olive oil
Salad Ingredients:
- 1 1/2 lbs. boneless chicken breasts or tenderloins
- 8 cups romaine lettuce
- 1 can of jumbo black olives, drained
- 1 pint grape tomatoes
- 1 English cucumber, quartered lengthwise and sliced
- 1 large carrot, julienned, shredded or grated
- 6 strips of crispy bacon, crumbled into 3/4-inch pieces
- 1 cup of finely shredded cheddar cheese
Dressing Ingredients:
- 1/3 cup mayonnaise
- 2/3 cup salsa

Gather your marinade ingredients.

Juice the limes.

Mix together marinade ingredients in a medium bowl.

Stir the chicken into the marinade, coating all pieces. Let the chicken marinate for 15 minutes while you start your grill and prepare the salad.
Preheat your grill to low/medium heat.

Gather your vegetables. Drain the olives, wash the vegetables, peel the carrots.
Yes, this recipe calls for one large carrot, but I have two in the picture.
My son is sitting here in the kitchen, with his laptop, and as soon as he sees me peeling carrots, I predict he is going to ask for one.

After you have washed your vegetables, slice the lettuce and cucumber and julienne/shred/grate your carrot.
For the record, my son is munching on a carrot right now. I know him so well.

Place your veggies in a large salad bowl.

Toss the salad and refrigerate while you prepare your other ingredients.
Start grilling the chicken. Make sure the heat is low/medium, you do not want to burn the chicken.
Set your timer--3 minutes if you're grilling tenderloins, 5 minutes for boneless breasts.
(Alternate method: if you don't want to grill your chicken, you can roast it in your oven. Prepare the marinade and marinate your chicken tenderloins as instructed. While the chicken marinates, preheat your oven to 375 degrees. Place chicken on a foil-lined baking sheet and bake for 18-20 minutes, turning the chicken once after 10 minutes.)
(Alternate method: if you don't want to grill your chicken, you can roast it in your oven. Prepare the marinade and marinate your chicken tenderloins as instructed. While the chicken marinates, preheat your oven to 375 degrees. Place chicken on a foil-lined baking sheet and bake for 18-20 minutes, turning the chicken once after 10 minutes.)

Gather your dressing ingredients.
You can use any type of dressing you like for this salad, honey mustard dressing or ranch dressing also work well.
In my opinion, however, this salad is begging for a salsa dressing.

Stir the mayonnaise and salsa in a small bowl to make the dressing.
This recipe makes 1 cup of dressing, but you can make as much or as little as you like. Just make sure you are using a ratio of two parts salsa to one part mayo.
FYI--don't use fresh salsa. Jarred, runny salsa works best!
If your timer has gone off, go to your grill and check the chicken. It should be about halfway done (you can tell by looking at the edges; the whiter and less slimy-looking it is, the more it is cooked).
Turn over your chicken and set your timer again. You may want to adjust your timer depending on how fast the chicken is cooking. If it is not halfway cooked, either adjust the heat a smidge higher or set your timer for a bit longer than you did the first time.
If the chicken is more than halfway cooked, either lower the heat or set your timer for a shorter time after you flip the chicken.

While the chicken finishes, cook your bacon. I use thick slices of applewood smoked bacon, but you can use any type you like. If you want to save time, pre-cooked microwaveable bacon is fine.

Cook your bacon 'til it's nice and crispy.

When it cools down, crumble it into 3/4-inch or 1-inch pieces. Not tiny crumbs. You want to know that you are eating bacon.
I should have made more bacon. I forgot to take into account that my son is still in the room.

Remove the chicken from the grill.

While it's still hot, slice it into bite-sized pieces. You want to serve this while it's still warm so the cheese will melt on it.
Remove the salad from your refrigerator. Serve by filling the plates with salad, topped by bacon, warm chicken, cheese and dressing.

Yum.
And since I found myself with three over-ripe bananas today, I was able to make banana bread.
It uses another sorta-favorite kitchen gadget.
Banana Bread
- 3 large (very ripe) bananas
- 1 egg
- 2 tablespoons vegetable oil
- 1/4 cup milk
- 1/2 cup sugar
- 1/2 teaspoon salt
- 1 teaspoon baking soda
- 1/2 teaspoon baking powder
- 1 1/2 cups flour
- optional: 1/2 cup chopped nuts, 1 cup chocolate chips

Peel bananas and place in a large bowl.

Mash bananas with a fork.
(It's important that the bananas be very ripe--they will be soft and easy to mash if they are overripe. I wish I took a picture of the bananas for you before I peeled them. Imagine three very brown bananas.)

Stir in the egg and vegetable oil.

Add the milk and sugar.

Mix in the flour, salt, baking soda and baking powder.

Chop nuts. I chopped pecans in another one of my favorite kitchen toys.
If you are going to add chocolate chips, now would be the time.
You can also add the nuts at this time......

Or you can sprinkle them on top.
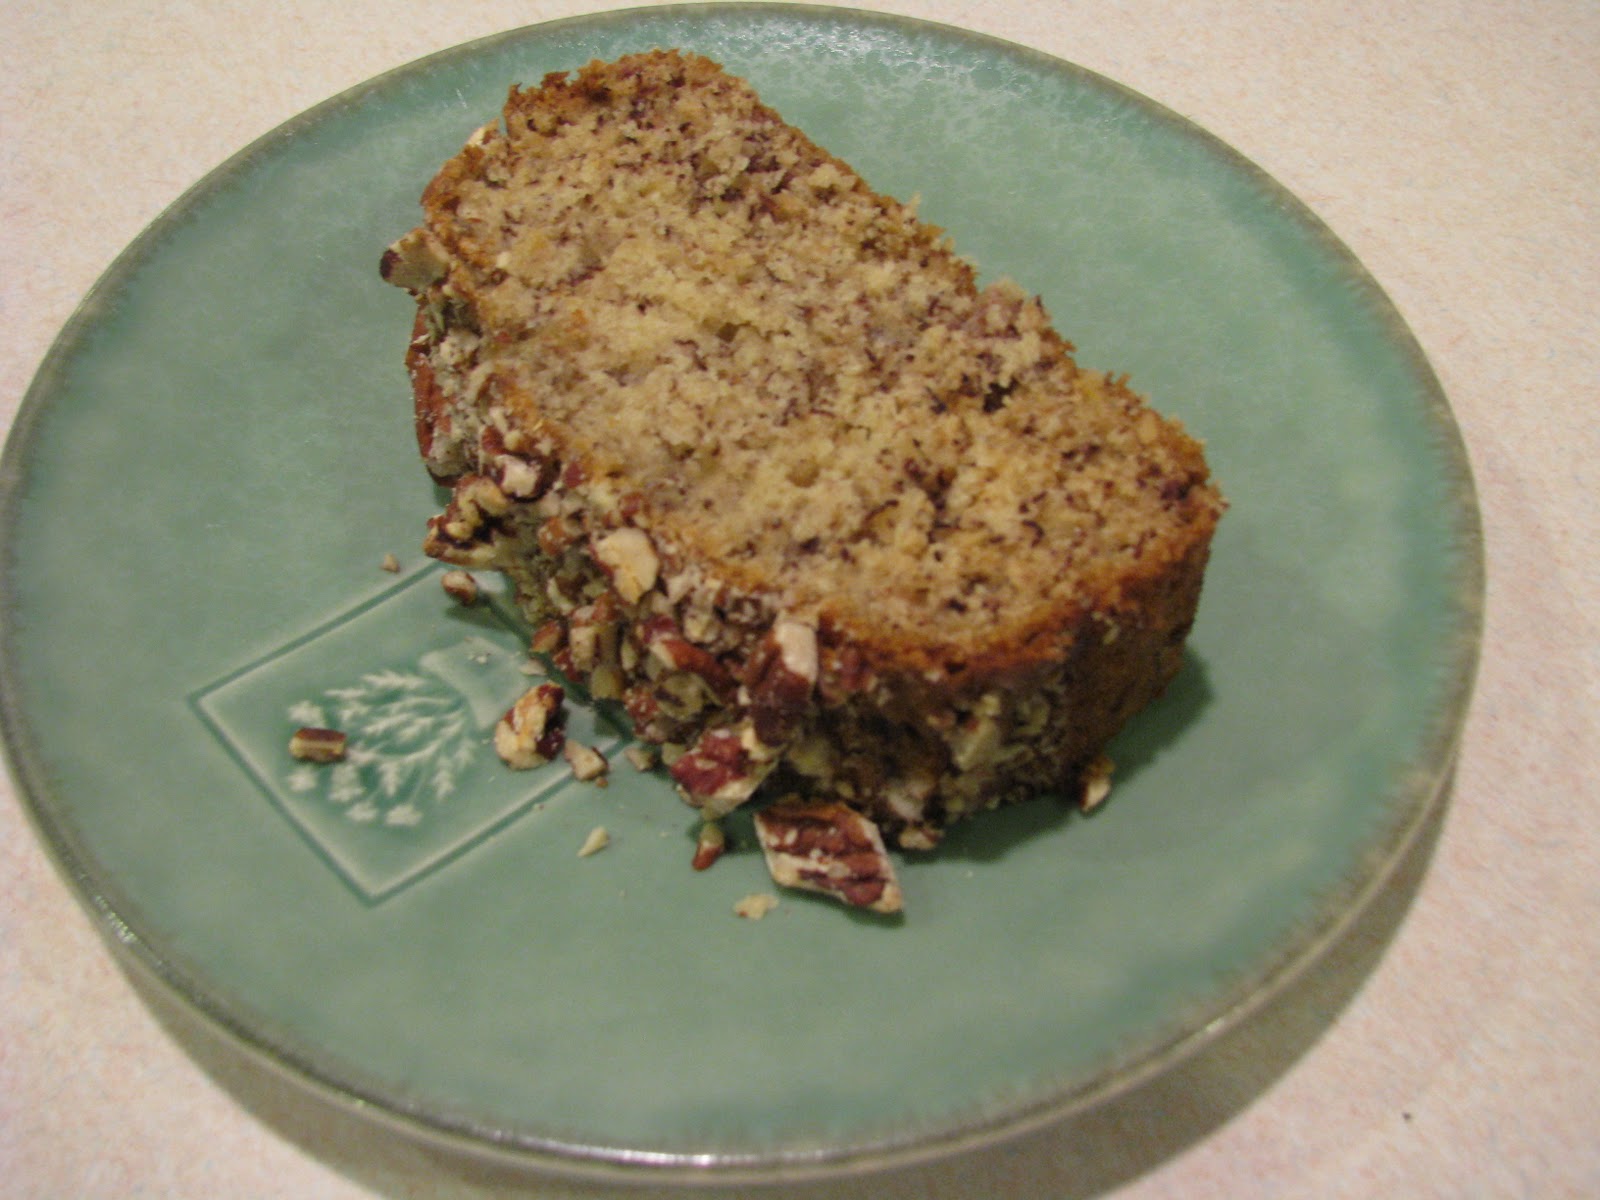
Some members of my family do not like nuts in the banana bread, so I put them on top so they are easy to pick off.
Bake at 350 degrees for about 50 minutes to an hour. Test for doneness with a toothpick; stick the toothpick into the center of the bread and remove it. When it comes out clean, the bread is cooked. If the toothpick still is covered with batter, set your timer for 5 more minutes and re-check.

You can let it cool or serve it warm.
Enjoy!
No comments:
Post a Comment
I love to hear what you think!